Adding a third material- Applique
Over-Coloring
APPLIQUE with TRACE, BASTE, SNIP and STITCH
This technique is used in our Christmas Berries, Medallion VII pattern (pictured above), in Karen's Hospitality table runner, and all of our Victorian Flower Garden patterns, when using option 3.
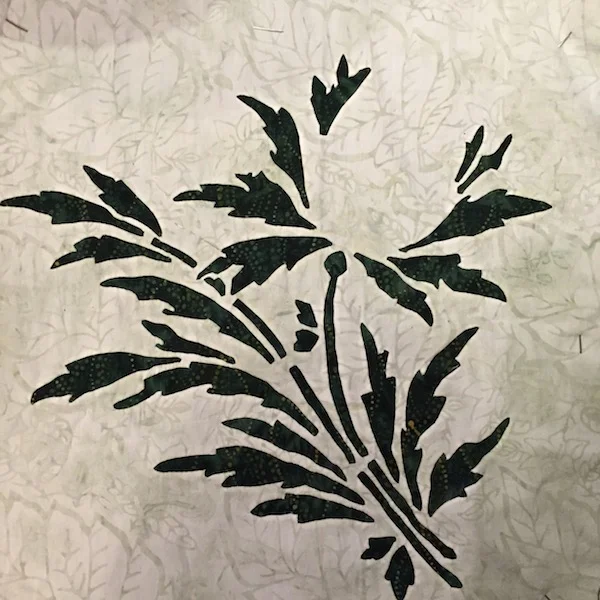
For all of these patterns, you create the top with reverse applique and then over-color by appliqueing on an added touch of color. This gives the piece another dimension. Our full-size patterns have solid black shapes for what would be reverse applique, and cross-hatched shapes for what you can choose to applique. See picture below.

1a. Pattern pieces. Solid black for reverse applique. Cross-hatched shapes for applique option.
When you begin, you would trace the whole pattern on the wrong side of the background fabric. But you would only baste what you are going to reverse applique. For example, after you have reverse appliqued the greens in our Christmas Berries pattern, you then applique on the red to add a touch of holiday cheer.
And now, how to add the third colour: to over-color. I'll be using the Thistle pattern from Victorian Flower Garden.

1b. Finished pieces.
TRACE:
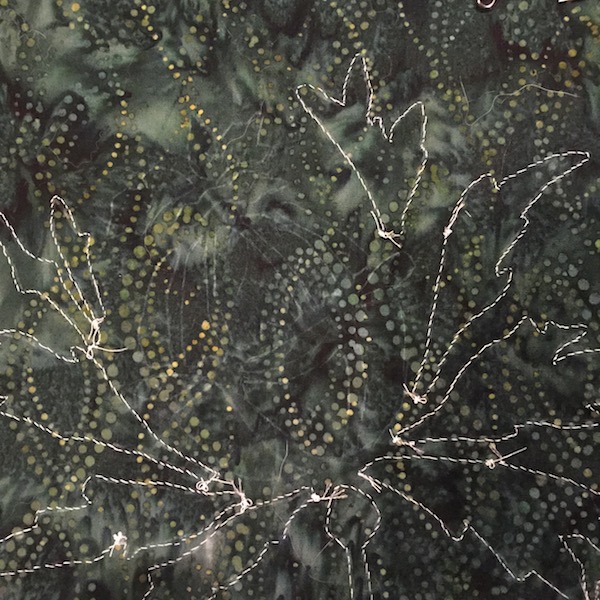
Trace the whole pattern onto the wrong side of your background fabric, tracing around all shapes, including all black and cross-hatched shapes. You may want to put an 'x' inside the shapes that will be over-colored.

2. Trace pattern on wrong side of background fabric.

3. Baste what you will reverse applique.
BASTE:
Lay your top fabric on and baste only what you are going to reverse applique.
4a. Reverse applique completed - from front. Your new background fabric.
STITCH:
Do all your reverse applique stitching. Refer to our tutorial, "Reverse Needle turn Applique" for help with this.
These two fabrics stitched together, are now your background fabric for the remainder of this tutorial.
4b. Reverse applique complete - from back.
You are now ready to Over-color:add your third colour.
Working on the right side of your background, position a rough cut piece of a third colour so it covers the tracing of your shape on the back, that you will be appliquéing. Secure with pins. I like my basting safety pins or my little applique pins, but any pins work.
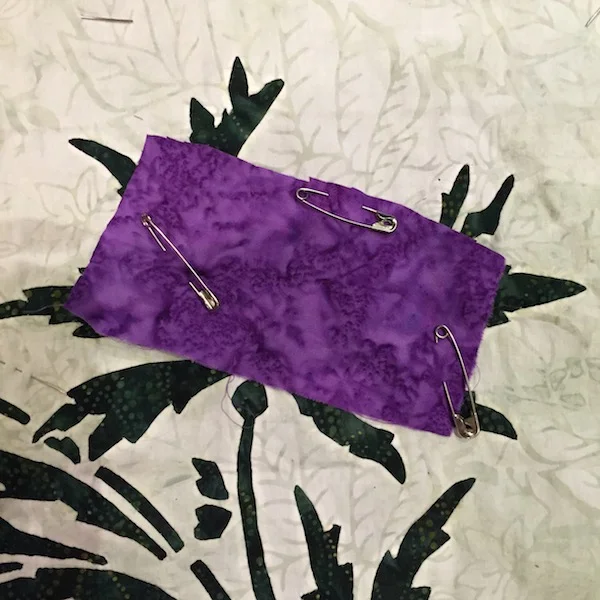
5. Layer third colour on the right side, front, of your background fabric, over the tracing of your shape on the back side.
BASTE:
Working from the wrong side, baste through all 3 layers of fabric on all drawn lines. Use your No. 7 Sharps Basting Needles and your thick thread that is a contrast colour to your applique fabric. For basting, use a thread with some heft, like a button thread or cotton hand-quilting thread.
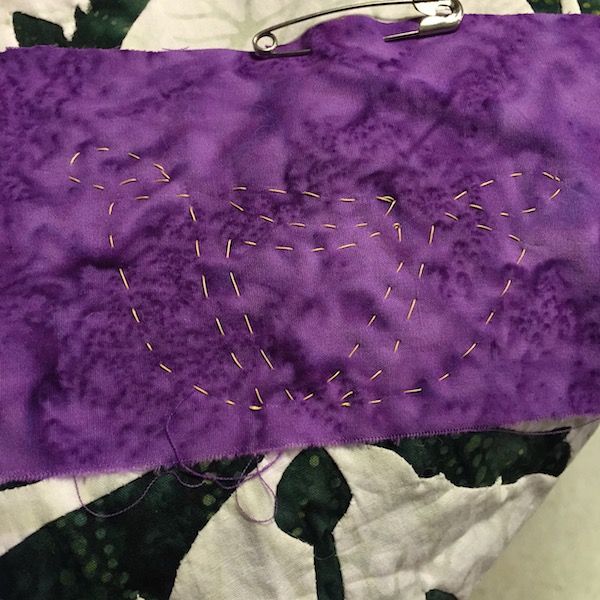
6. Basting third colour viewed from the front (right side).
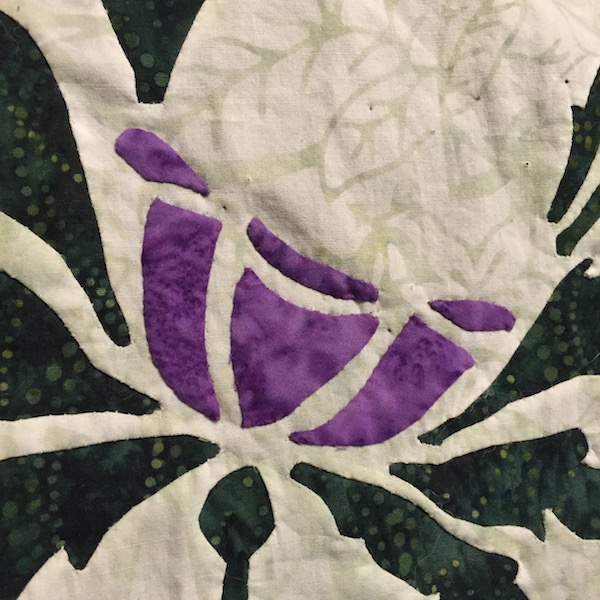
SNIP:
Trim excess material to 1/4" - 1/8" around your shape, creating your seam allowance. Clip your points and curves.

7. Snip away excess fabric, creating a seam allowance. Snip points and curves.

8b. Shape completely sewn down.
STITCH:
Clip every other basting thread for easier removal as you sew. Thread your No. 11 Milliner's Needle with thread that matches your fabric colour. Remove a clipped basting thread, fold under the raw edge to the basting line. Bring your needle up from the back and take a stitch in the fold of your fabric. Continue until all the raw edges are folded under and stitched down.

8a. Snip every other basting thread.
9. Continue until all shapes are stitched down.
REPEAT:
Repeat the process on the next shape and all remaining shapes until all third colour material shapes have been appliqued down. You can baste down as many pieces at one time as you want, as long as there is enough space between the shapes to create a seam allowance when you trim. If the spaces between the shapes are narrow, you may have to baste and stitch shapes one at a time.
In the picture below, you can see some petals have been stitched already. I determined that the spaces between the shapes were too close to create a good seam allowance, so I basted and stitched half of my petals in the upper half of the thistle blossom. Then I came back in to baste and snip the next petals.
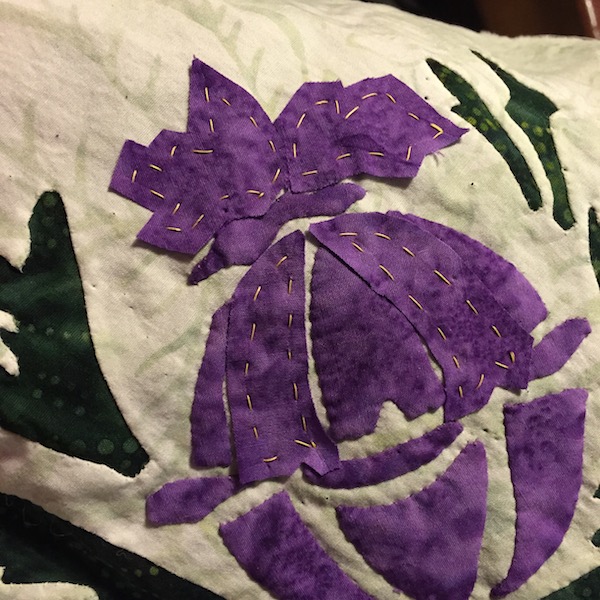
10. Some shapes sewn down, with others basted and ready to be stitched.
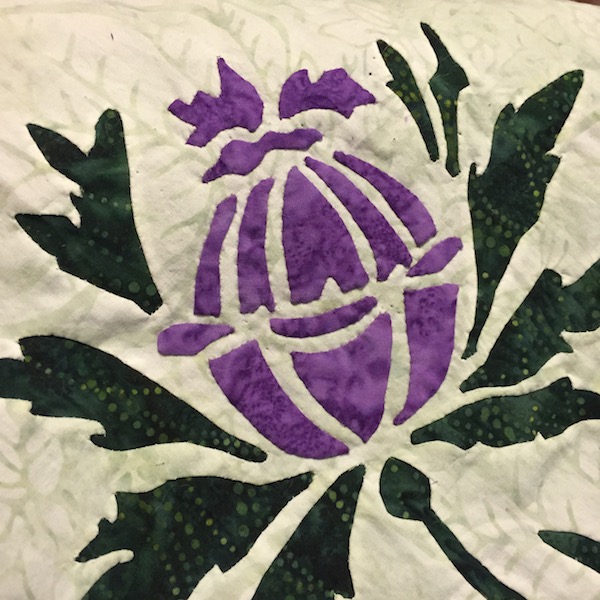
VOILA!
You have just over-colored on your thistle blossoms, thereby adding a third colour and dimension to your quilt top doing applique in our four easy steps of Trace, Baste, Snip and Stitch. Combining the techniques gives your piece a background and a foreground, for added dimensionality.
Where can I use this technique?
Our patterns that use a third colour, or give you the option of adding one are:

Desert Blooms, Medallion XI.
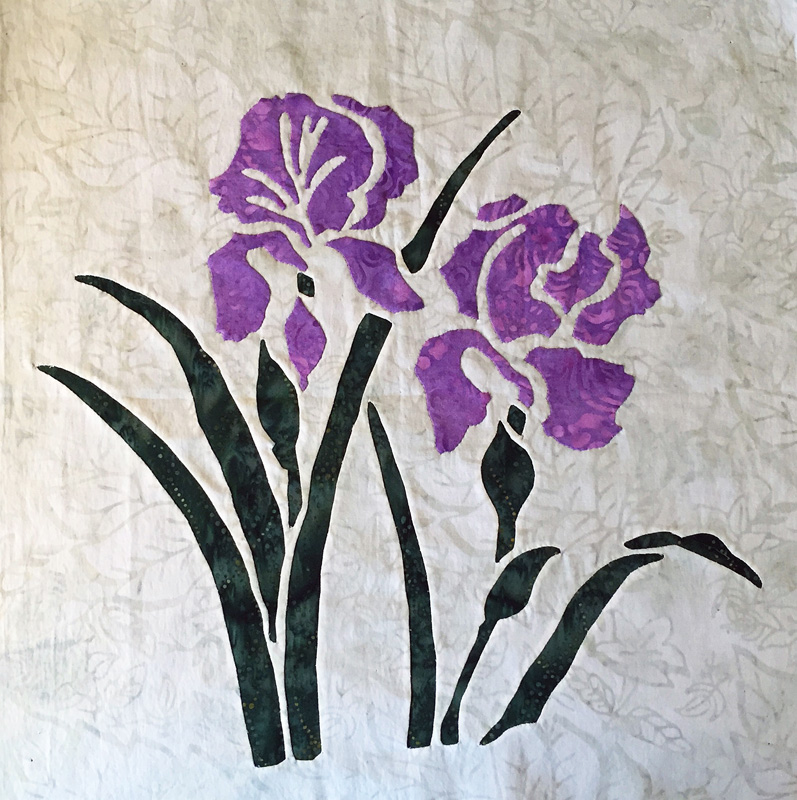
Victorian Flower Garden, Iris, 9 of 9.
Check out our Workshop page for a hands on workshop in your area.

Vintage Jewel, table runner VI.